|
MADSHOME - Safari Chair Assembly
Instructions

Safari Chair - Contents

Step 1: Locate legs and two dowels

Step 2: Insert dowel into legs attached by
armrest. Do this with both chair sides.
(tapping dowels, with a rubber mallet, into place may be necessary)

Step 3: Insert the two remaining dowels.
(tapping dowels, with a rubber mallet, into place may be necessary)

Step 4: Slide seat fabric onto dowels.
Overlapping fabric side down.

Step 5: Attached the other chair-side.
(tapping dowels, with a rubber mallet, into place may be necessary)

Step 6: Snap front and back straps. If they
seem too tight tap on legs by the dowels.


Step 7: Push one of the back bars into place
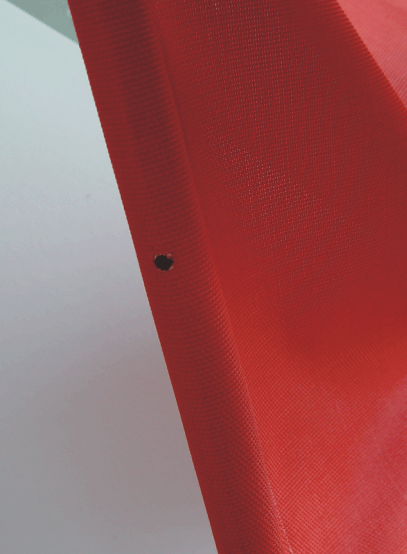
until the hole in the fabric and the hole in
the bar align.
Follow the next steps before repeating this
step for the other side.

Step 8: Make sure the wooden spacer is
attached to the bolt.

Step 9: Push the back bar onto the bolt
trough the hole in the fabric. Place the
regular washer on first, then the
washer, and finally hand tighten the nut
(may be a wing nut).
Now repeat from Step 7 for the other side.
On occasion you might want to check that the
nut remains tight.

Congratulations! You now have a Safari
Chair!
Please note: Wood changes depending on
temperature and humidity, so if you decide
to disassemble the chair, some parts may be
a little snug. If a joint is hard to loosen,
tap lightly above and below the joints with
a rubber mallet.
The chair is assembled without glue and
fasteners, so it is normal that legs will
move slightly when used. Also the fabric
will make some sounds when you sit down in
the chair, however this is just because of
the fabric tightening around the dowel. This
should wear off the more the chair is used.
Contact us if you have any questions.
|