
|
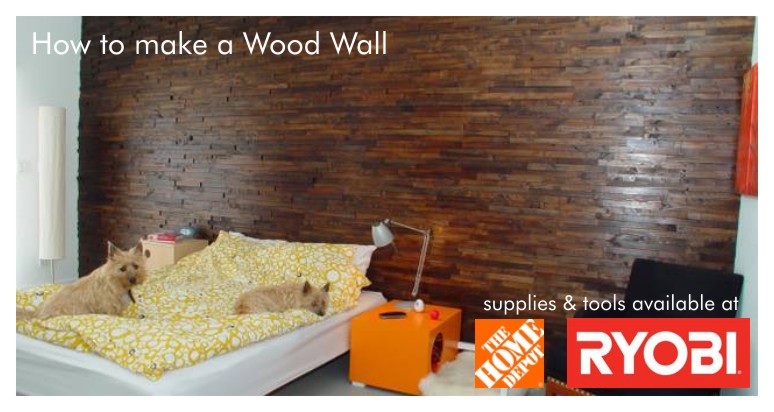
Making a wall like this is pretty basic, but it does require the use of power tools. If you are not familiar with a table-saw and a miter-saw, then this is a great project to practice on. You will be doing many repetitive cuts and when you are done you will be ready to tackle more advanced DIY projects. The main tools can be acquired for around $200 and they can be used for countless future projects. Read all the steps before you start and read the user manuals for the tools that you are going to use. All the materials and tools are available at Home Depot.
Construction lumber like any 2x's are perfect to cut into suitable pieces. The key is to use wood with the same height of roughly 1-1/2". This will help keep the pieces horizontal across the wall. (Optional tool: Ryobi Thickness planner model # AP1301 to give all the pieces the same height).
How many pieces are needed? Measure the wall length and height. You can get about 5 pieces out of a 2x4 that is 12" long. This will cover an area approximately 12" x 7.5" or little over 1/2 sq/ft.
Step 1:
Cut the wood into random lengths from 4" to 16". The length of the pieces should not be longer than 16" because all walls are not straight and the wood could be slightly warped. - Recommended tool: Miter Saw like Ryobi model # TS1141L
Step 2:
Slice or rip the pieces into thinner pieces with a table saw. They can be cut in random thicknesses from 1/4" to 3/4". - Recommended tool: Ryobi Table-saw model # RTS10
Step 3:
If the pieces look a bit frayed around the edges, sand the them lightly with a 150/220 grit sandpaper.
Step 4:
Stain or paint the pieces in whichever color you want. Use a brush or spray. Optional tool: Ryobi Handheld Sprayer model # SSP300, Recommended Stains: Minwax
Optional - Wall Prep: Because walls are not always straight and the wood pieces may be warped or there is a hole from a knot where you will be able to see the wall behind, between the gaps of the wood pieces. It is therefore helpful to paint the wall in a color similar to the color you have chosen for the wood pieces.
Step 5:
Attach the pieces to the wall. There are a few options depending on the wall type you have. You can glue the pieces with a generous amount of hot-melt glue. Other options are construction grade adhesives like Loctite Power Grab All-Purpose. You do not need a lot , just a few dabs on each piece. Optional tool: Ryobi power caulk model # P310. The last option is using a small nail-gun with 1-1/2"-2" brad nails. Recommended tool: Ryobi 2" Brad Nailer model #YN200BND.
Step 6:
Start from the floor and build your way up. Try to make it look random. Random lengths, random thicknesses. You want to check if it looks level as you go. Because some of the pieces might vary a bit it is possible that it gets to look a bit crooked. So you might need to leave a small gap some places. (If you used a Thickness planer you will likely avoid this problem). However, once the wall is finished you will not notice small imperfections like this, so don't sweat it. You will need to cut some of the pieces to length to make the pieces fit up against the sidewall or around outlets, windows or similar, so keep the Miter-Saw handy.
When you reach the ceiling chances are that the pieces do not reach the ceiling. Use the thinnest pieces you have and attach them on top of the last row of wood to meet the ceiling (not actually attached to wall). You can also cut the pieces to fit the remaining gap.
Enjoy!
|
|
